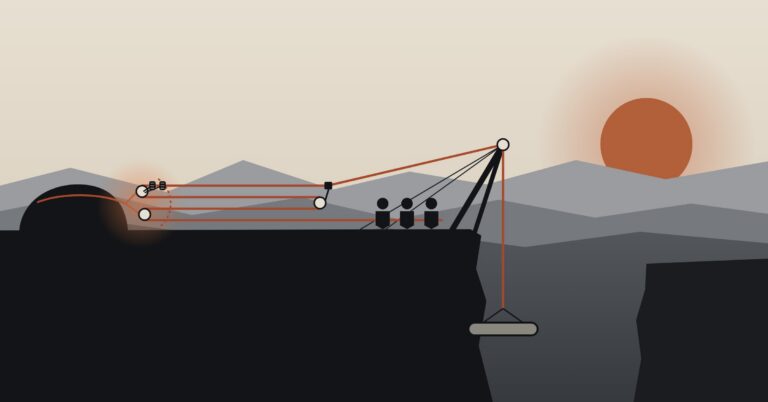
Every anchor gets rigged for a number. Usually that number is the load: the weight of the patient, the litter, and the attendant hanging on the mainline. Build the anchor strong enough to hold that load with a healthy safety factor, and the job feels done.
The problem is that the anchor doesn’t only hold the load. Once the haul starts, it holds the whole mechanical advantage system: every pulley, every strand, and in many setups the haul team’s pull as well. Depending on how the system is rigged and which way the haulers are facing, the anchor can see noticeably more than the load, or noticeably less. This lesson walks through why, using three connected tools. Change the setup in the first, and the other two follow along.
Start with the system itself. Choose a 3:1, a simple 5:1, or a compound 9:1, then set the mainline tension and the pulley efficiency. The diagram shows the tension in every strand, and the line gets heavier as the tension rises, so you can see friction take its share at each pulley. Turn the redirect at the anchor on or off, and move the haul team through every direction from facing the edge to facing away from it. If you want to check the math, open “Prove it” and follow the tension pulley by pulley, from the haulers’ hands to the load.
This is the number that matters for anchor selection. The anchor holds the mainline tension plus the haul team’s pull, and the angle between those two forces decides how much of the haul gets added. When the team pulls back toward the edge, their effort stacks directly on the load. When they swing out to the side, most of it stops adding. When they pull straight away from the edge, as in a Z-rig with no redirect, they actually take force off the anchor. Below the main number, compare the theoretical advantage you get by counting strands with the practical advantage you get after friction, and look at how much the redirect pulley carries on its own.
Nobody on scene can see anchor force, so you need two ways to catch a problem before the anchor does. The first is arithmetic. Enter the breaking strength of the weakest component in your anchor and the safety factor your team requires, and compare the safety factor while holding the load with the safety factor during the haul. The curve shows anchor force for every haul direction, and the tool tells you how far to swing the team, or how strong to build the anchor, to stay above your limit. The second is observation: the signs on scene that the system is carrying more than the model predicts, from a haul that feels too heavy to anything moving at the anchor.
An anchor built for the load can be under-built for the haul. A redirect at the anchor is a useful tool, but it turns the haul team’s pull into anchor load, and the more the team faces the edge, the more of their effort the anchor has to absorb. Strand counting doesn’t show this, and neither does the safety factor you calculated for a static hold. Before you rig, figure the anchor for its worst moment, which is the haul, not the hold.
You also have more control over that number than it might seem. Haul direction, the choice to redirect, the type of MA system, and pulley quality all change what the anchor sees, and some of those changes can be made in seconds on scene. Use the arithmetic to set the anchor, then trust what you see and feel during the operation. A haul that’s harder than expected or an anchor component that shifts tells you the real forces have outrun the plan, and the right response is the same every time: stop, set progress capture, and fix the system before you pull again.
Peace on your Days
Lance