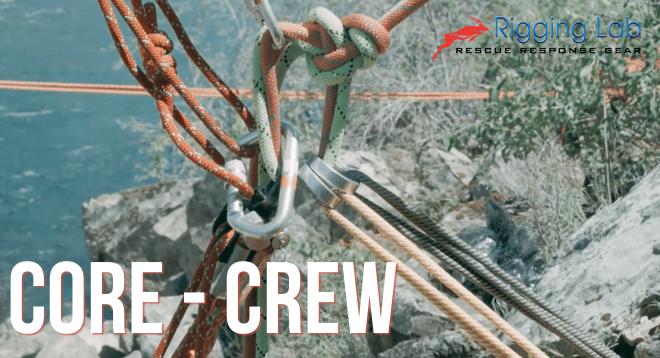
Anchors form the backbone of every rope rescue system, but they aren’t always where you want them. Sometimes the strongest anchor sits away from the natural fall line, creating an awkward rope path or edge transition. In these cases, understanding directional anchors in rope rescue provides a safe way to redirect the rope into alignment with the load.
By adding a secondary anchor into the system, rescuers can fine-tune rope direction, protect edges, and create cleaner working lines.
What Is a Directional Anchor?
A directional anchor is an additional anchor used to redirect the rope from its original fall line to a directed fall line. The redirection changes the angle of pull, often improving efficiency and safety.
In practice: Imagine your only bombproof tree is ten feet to the left of the edge. Instead of fighting the offset, you use a second anchor (directional) to guide the rope back to the fall line. The system is cleaner, safer, and easier to operate.
How Vector Forces Affect Directional Anchors
While directional anchors are effective, they introduce force multiplication. This is called a Change of Direction (CD). The load on the directional anchor depends on the vector angle between the ropes.
-
150° vector: 50% of the load
-
120° vector: 100% of the load
-
90° vector: ~140% of the load
-
45° vector: ~185% of the load
-
<45° vector: Up to 200% of the load
Key Point: The smaller the angle, the greater the force on the directional anchor.
Step-by-Step Use of Directional Anchors
-
Identify the Main Anchor
-
Choose a bombproof or substantial anchor that can handle primary loading.
-
Position it as close to the fall line as possible.
-
-
Select the Directional Anchor
-
Pick a secondary anchor to redirect the rope.
-
Ensure it can handle increased force depending on the vector angle.
-
-
Rig the Redirection
-
Use appropriate hardware such as a pulley or carabiner to guide the rope.
-
Position it to create a smooth transition from main anchor to load.
-
-
Check Vector Angles
-
Keep the angle wide when possible (closer to 150°).
-
Avoid tight angles (<45°) unless the directional anchor is extremely solid.
-
-
Test and Load
-
Apply light load first to confirm stability.
-
Inspect for edge rub, side-loading, or unintended torque.
-
Advantages of Directional Anchors
-
Alignment – Guides rope back to the fall line for efficient hauling or lowering.
-
Edge Protection – Prevents ropes from running over sharp or hazardous edges.
-
Flexibility – Expands anchor options when ideal placements aren’t available.
-
Cleaner Systems – Reduces awkward rope paths that complicate operations.
Safety Considerations
-
Always evaluate the strength of the directional anchor — it may experience forces greater than the main anchor.
-
Use pulleys where possible to reduce friction and wear.
-
Monitor rope angles during operation, as shifting loads can alter vector forces.
-
Remember: the smaller the vector angle, the greater the multiplier effect on the directional anchor.
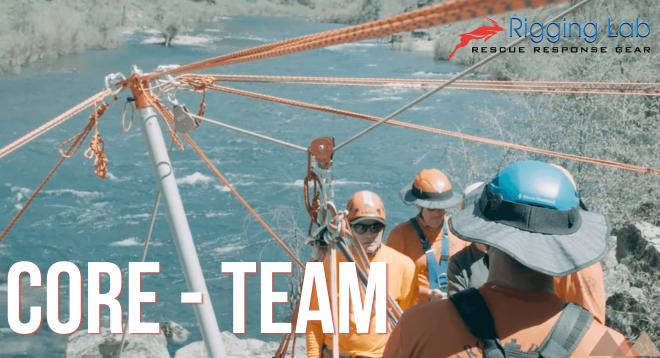
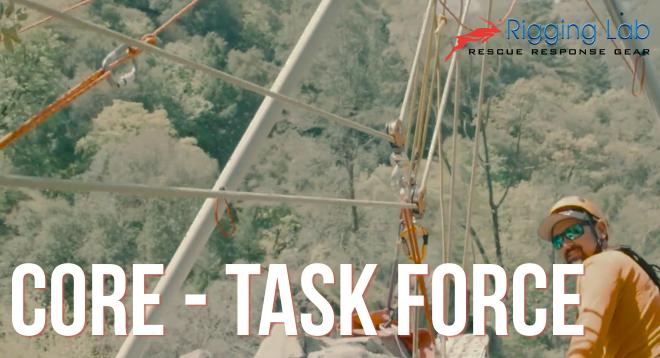
When to Use Directional Anchors
-
Cliff rescues where main anchors are offset from the fall line.
-
Industrial sites where beams or posts don’t line up with the work area.
-
High directional setups where rope paths must avoid structural hazards.
Conclusion
Directional anchors are a powerful tool in rope rescue, enabling rescuers to adapt when anchors aren’t perfectly aligned with the fall line. However, they must be used with respect for vector forces and load multiplication. By understanding how angles affect load, rescuers can safely redirect ropes, protect edges, and create more efficient systems.
Peace on your Days
Lance