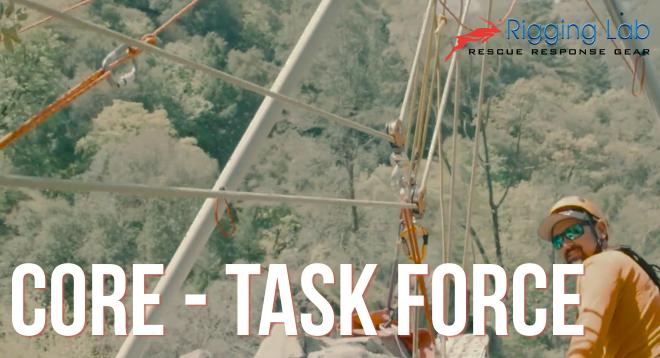
Removable Bolt Anchors for Highline Systems
Removable bolt anchors for highline systems is a very intriguing topic. When it comes to rescue in vertical or water-adjacent environments, few systems offer more versatility and challenge than a highline. But no matter how dialed your track lines, tag lines, and tensioning systems are, everything depends on your anchors.
In this operation, we took a unique approach: 100% of our highline anchoring was done using removable bolts (RBs). Why? Because we were operating in a protected, high-traffic climbing area — and leaving fixed gear behind was not an option.
This blog breaks down the why, what, and how behind our use of removable bolt anchors in a real-world highline rescue prep. Whether you’re training for remote evacuations or planning low-impact rigging in conservation areas, these insights will guide your thinking on temporary high-load anchors that leave no trace.
Why Removable Bolts?
The rigging site sits in a popular climbing canyon used by both recreational climbers and guided groups. Our goals were clear:
-
No permanent hardware left behind
-
Avoid equipment vandalism or theft
-
Maintain the natural aesthetic of the area
-
Ensure the anchor points would not be disturbed by the public
To achieve that, we used PMI Removable Bolts (RBs) to anchor every major system: the track line, tag line, and belay system.
In environments where conservation, aesthetics, or security matter, removable anchors provide a clean, high-strength, and efficient solution.
Anchor Planning with RBs: Preplanning Is Critical
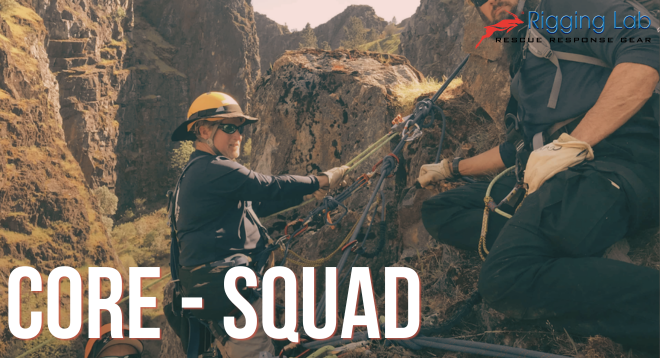
This wasn’t a spontaneous rig. The operation was part of a joint training mission with the Alpine Rescue Team, Clear Creek Fire Authority, and Clear Creek EMS. We’d evacuated injured climbers here before, so this was preplanned and practiced.
The terrain below featured Class IV whitewater, which made the trail out dangerous and slow. A highline gave us a safe and efficient aerial route for litter evacuation.
Key Preplanning Actions:
-
Chose solid granite walls — no flakes, cracks, or suspect rock
-
Sound-tested rock before drilling
-
Maintained 6-inch minimum edge distance from corners or cracks
-
Drilled deeper than required to improve placement and removal
-
Selected track line anchor points higher to allow for better sag and reduce force on anchors
“We drilled into solid granite — I can confirm it was a workout. But the result was a set of rock-solid, discreet anchors that didn’t alter the environment.”
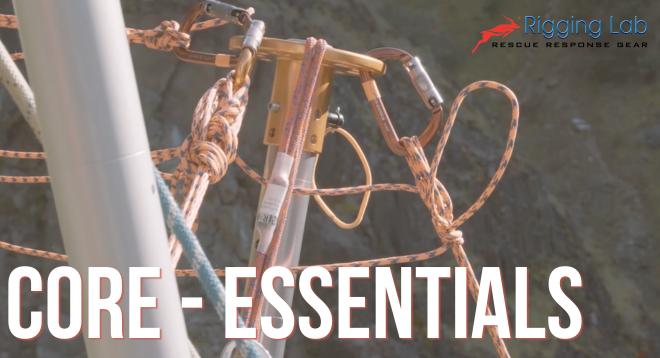
Removable Bolt Specs and Use
We used ¾-inch RBs, placed into ¾-inch holes drilled 1.5–2 inches deep. The bolts are rated at 310 pounds each per manufacturer specs.
To stay within safe working limits:
-
No single bolt carried the full system load
-
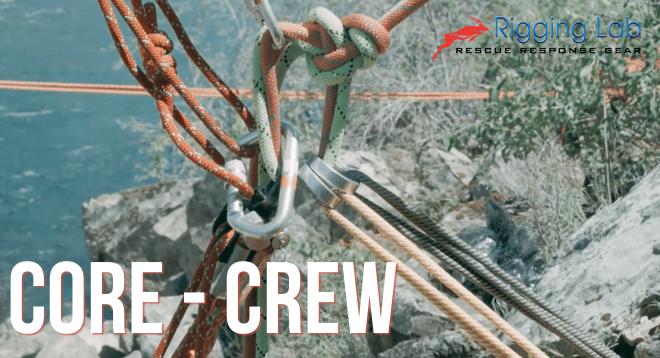
All anchors were load-shared using rigging plates or equalized rigging
-
Highest-load systems (track lines) used four RB placements for a single master point
-
Lower-load systems (belay or tag) used fewer RBs, strategically placed for access
Installation Best Practices:
-
Use a hammer drill with the proper bit
-
Drill slightly deeper than required to account for dust and poor cleaning
-
Avoid placing in suspect stone, flaky faces, or areas with freeze-thaw risk
-
Keep RBs dry, clean, and lubricated if needed for reuse
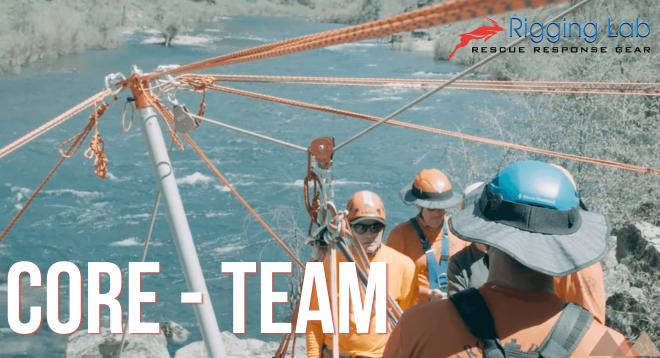
Highline Geometry and Anchor Height
Because the patient pickup zone was above dangerous rapids, we elevated our highline anchor points well above the creekbed. This provided:
-
Built-in sag in the track lines to absorb shock loads
-
Reduced risk of shock loading or anchor failure
-
Cleaner vector alignment between near and far-side anchors
-
Greater isolation from public view and tampering risk
Anchor Layout Strategy:
-
Track lines: Highest anchors, load-shared over 4 RBs
-
Belay lines: Moderate height, easy to reach for control
-
Tag lines: Slightly lower, used for movement and positioning
The tensioning system sat mid-slope to allow for equal vector loading and accessible adjustments.
“By keeping our anchors high and our sag intentional, we reduced strain on the system — and avoided the ropes ever touching the creek.”
Post-Operation Removal: Leave No Trace
Once the mission was complete, we removed every RB using a hammer and screwdriver:
-
Tap the spoon to release the cam
-
Back the bolt out slowly
-
Refill the hole with fast-setting mortar or natural soil
-
Blend the surface to minimize visual impact
The end result? A fully functioning highline system with no visible trace left behind.
This system is perfect for operations in:
-
National parks
-
Wilderness climbing areas
-
Historic or sacred landscapes
-
Private land rescues where owner permission is conditional on “no holes left behind”
Lessons and Takeaways
Removable bolt anchors take more time to plan and build, but the long-term value in preserving environment, aesthetics, and security is massive. They also open up more anchor placement opportunities in hard rock areas where trees or natural anchors may not exist.
Key Benefits of Removable Bolt Anchors:
-
Low visual impact
-
No permanent hardware left in public spaces
-
Flexible placement in high-angle environments
-
Ideal for load sharing and distributed rigging
-
Encourages more thoughtful anchor construction
Final Word: Precision Anchoring for Life-Saving Systems
In rope rescue, anchors are everything. But in high-impact, high-traffic, or high-sensitivity environments, how you build them matters just as much as what they hold.
This removable bolt system gave us the confidence to run a multi-line, multi-load highline — with tensioned track lines, tag lines, and belay lines — all without altering the environment. In doing so, we not only trained for future rescues but preserved the integrity of a canyon we may return to save lives again.
Peace on your Days
Lance