
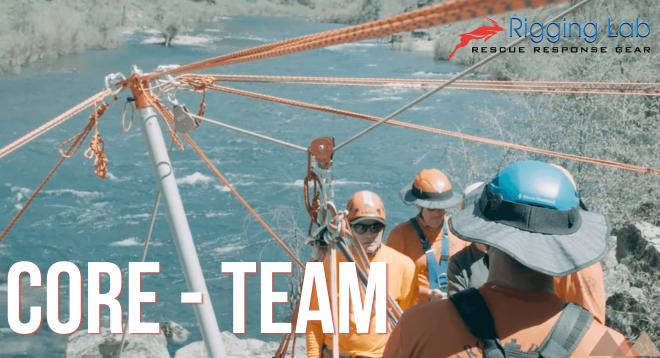
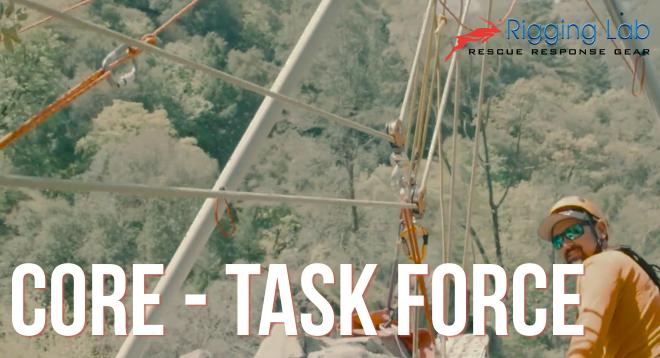
The Arizona Vortex is a versatile artificial high directional (AHD) system designed to facilitate safe and efficient rope rescue operations across various challenging environments. Its modular design allows for multiple configurations, making it an essential tool for rescue professionals.
Key Configurations of the Arizona Vortex
The Arizona Vortex can be assembled into several configurations to suit specific rescue scenarios:
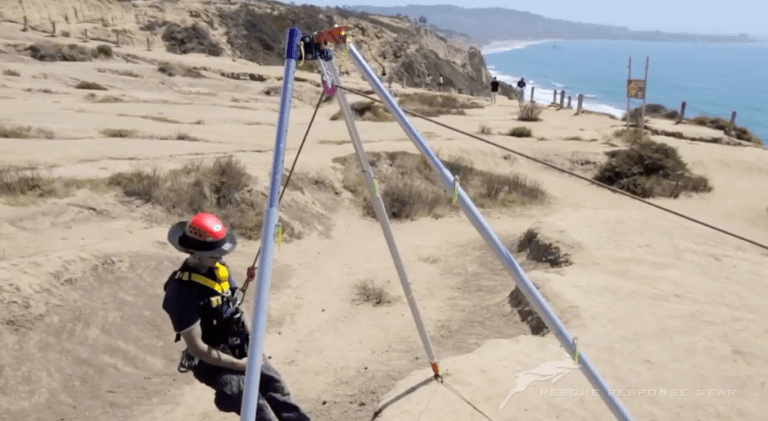
- Tripod Configuration: Ideal for vertical access in confined spaces, providing a stable overhead anchor point.
- Bipod (A-Frame) Configuration: Suitable for edge transitions, such as cliff rescues, where horizontal reach is necessary.
- Monopod (Gin Pole) Configuration: Used in situations requiring a single high directional point, often in narrow or restricted areas.
These configurations enhance the system’s adaptability, allowing rescuers to tailor the setup to the demands of the operation.
Specifications
| Specification | Measurement |
|---|---|
| Minimum Height | 9 ft (2.7 m) |
| Maximum Height | 12 ft (3.7 m) with additional legs |
| System Weight | 72 lb (33 kg) with both foot sets |
| Maximum Breaking Strength (MBS) | 36 kN (8,093 lbf) |
| Certification | NFPA 1983 (2017 ED) – General Use |
Note: The system’s height can be adjusted by adding or removing leg sections to accommodate various operational needs.
Advantages in Rescue Operations
The Arizona Vortex offers several benefits that enhance rescue operations:
- Edge Transition Facilitation: By positioning the high directional close to or over the edge, rescuers can load their weight onto the system before transitioning, reducing physical strain and improving safety.
- Load Resultant Management: Proper alignment of the system ensures that the resultant force remains within the footprint of the Vortex, maintaining stability during operations.
- Versatility: Its ability to configure into tripod, bipod, and monopod setups allows for adaptability across diverse rescue scenarios, from industrial accidents to wilderness rescues.
For a comprehensive understanding of the Arizona Vortex’s applications and setup, refer to the Arizona Vortex User Manual.
Conclusion
The Arizona Vortex stands as a critical asset in modern rope rescue operations, offering flexibility, stability, and efficiency. Its thoughtful design and adaptability make it indispensable for rescue teams aiming to perform safe and effective operations in complex environments.
Peace on your Days…
Lance

Comments are closed.